Introduction: The Sharp Truth About Kitchen Knives
A sharp knife is not just a luxury in the kitchen—it's a necessity. Professional chefs understand that a properly sharpened knife is safer, more efficient, and delivers superior results compared to its dull counterpart. Yet many home cooks struggle with maintaining the edge on their kitchen knives, often resorting to ineffective sharpening gadgets or simply accepting the diminished performance of their once-sharp blades.
At Yui's Kitchen, we believe that everyone deserves to experience the joy and efficiency of cooking with truly sharp knives. Our chef-approved knife collection is designed to maintain its edge with proper care, but even the finest knives eventually need sharpening. This comprehensive guide will walk you through professional knife sharpening techniques that you can master at home, transforming your cooking experience and extending the life of your valuable kitchen tools.
Understanding the fundamentals of knife sharpening isn't just about maintaining your investment—it's about elevating your entire cooking experience. A sharp knife glides through ingredients with precision, preserving their integrity and allowing you to work with greater control and confidence. Whether you're a culinary enthusiast or simply someone who wants to make meal preparation more enjoyable, mastering the art of knife sharpening is a skill that will serve you well for a lifetime.
The Science of Sharpness: Understanding Your Knife's Edge
Before diving into sharpening techniques, it's essential to understand what happens to a knife's edge during use and what the sharpening process actually accomplishes.
Anatomy of a Knife Edge
A knife's edge consists of a carefully ground bevel (or bevels) that tapers to create the cutting edge. Under a microscope, even the sharpest edge isn't perfectly smooth—it's composed of microscopic "teeth" that do the actual cutting. Different knife styles and purposes call for different edge geometries:
•Western-style knives typically feature a double bevel (15-20 degrees per side)
•Japanese knives often have a single bevel or asymmetrical edge (10-15 degrees)
•Specialized knives may have unique edge profiles optimized for specific tasks
How Knives Become Dull
Knives lose their sharpness through two primary mechanisms:
1.Edge rolling: The microscopic edge literally folds over from pressure during cutting
2.Edge wearing: Material is gradually removed from the edge through abrasion
Cutting on hard surfaces (glass, granite, ceramic), improper storage, and regular use all contribute to dulling. Even the act of cutting food causes microscopic damage to the edge over time.
The Sharpening Process Explained
Sharpening removes material from the blade to create a new edge. This process involves:
1.Grinding: Removing metal to reshape the edge
2.Honing: Realigning the microscopic teeth of the edge
3.Polishing: Refining the edge for smoother cutting
Understanding these principles helps you approach sharpening with the right mindset—you're not just "making the knife sharp" but actually reshaping and refining the edge geometry.
Signs Your Knife Needs Sharpening
Many home cooks wait too long before sharpening their knives, struggling with dull blades that make cooking more difficult and potentially dangerous. Here are clear indicators that your knife needs attention:
Visual and Tactile Tests
•Light reflection: A dull edge reflects light differently than a sharp one. Hold the blade under direct light—if you can see light reflecting off the very edge (rather than just the sides), it's dull.
•Thumbnail test: Carefully (and gently) drag the edge across your thumbnail. A sharp knife will catch slightly; a dull one will slide without resistance.
•Paper test: Try slicing through a sheet of paper held vertically. A sharp knife cuts cleanly; a dull one tears or won't cut at all.
Performance Indicators
•Your knife slips when cutting through tomato or pepper skin instead of piercing it cleanly
•You find yourself applying more pressure during cutting tasks
•Onions crush rather than slice cleanly, causing more eye irritation
•Herbs bruise instead of being cleanly cut
•You notice yourself using a sawing motion more frequently
If you're experiencing any of these signs, it's time to sharpen your knife. Regular maintenance prevents the need for more aggressive reshaping later.
Essential Sharpening Tools: Professional Options for Home Use
The right tools make all the difference in achieving professional-quality results. Here's a breakdown of the most effective sharpening implements, from traditional to modern:
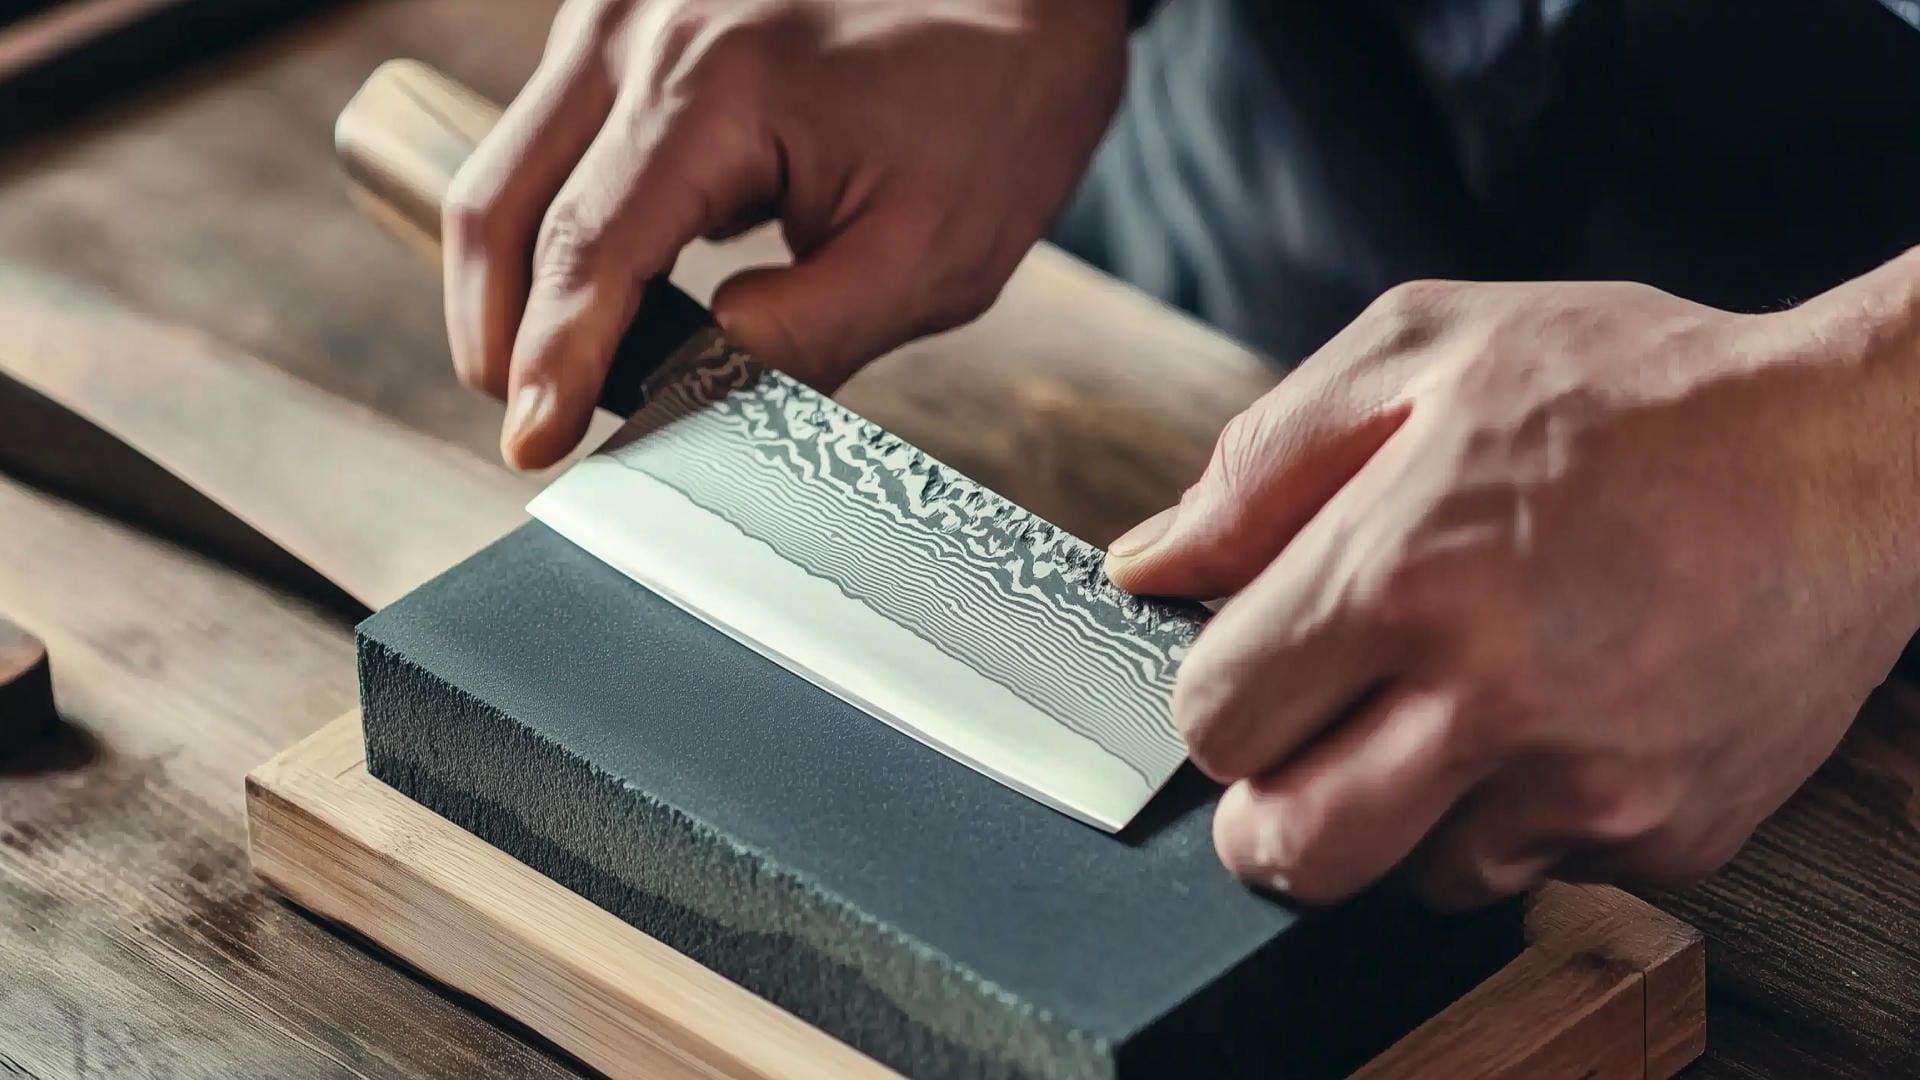
Whetstones: The Gold Standard
Whetstones (also called water stones or sharpening stones) are the preferred method of professional chefs and knife enthusiasts. They provide the most control and best results, though they require some practice to master.
Types of Whetstones:
•Synthetic water stones: Most common and user-friendly
•Natural stones: Prized by purists but expensive
•Diamond stones: Extremely durable and require no flattening
Grit Progression:
•Coarse (200-800 grit): For repairing damaged edges or major reshaping
•Medium (1000-3000 grit): Primary sharpening
•Fine (4000-8000 grit): Refining and polishing the edge
Quality whetstones are an investment that will last for years. Yui's Kitchen's premium whetstone set includes multiple grits and a flattening stone to maintain the stones themselves.
Rolling Knife Sharpeners: Precision and Consistency Made Simple
Rolling knife sharpeners represent an innovative middle ground between traditional whetstones and simpler pull-through sharpeners, offering precision results with a significantly reduced learning curve. These ingenious tools have gained popularity among both home cooks and culinary professionals for their ability to deliver consistent, high-quality edges with minimal skill required.
What Makes Rolling Sharpeners Unique:
Rolling sharpeners feature a cylindrical or wheel-based design that rolls along the knife edge while maintaining a precise sharpening angle. This rolling action, combined with built-in angle guides, ensures consistent contact between the abrasive surface and the knife edge throughout the entire sharpening process.
Key Benefits for Home Cooks:
•Angle Consistency: The most significant advantage of rolling sharpeners is their ability to maintain a precise angle throughout the sharpening process. This consistency is crucial for creating an effective edge and is typically the most challenging aspect for beginners using traditional whetstones.
•Reduced Learning Curve: While whetstones require significant practice to master, rolling sharpeners can be used effectively with minimal instruction, making them accessible to cooks of all skill levels.
•Protection Against Edge Damage: The guided system prevents the edge damage that commonly occurs when beginners attempt freehand sharpening with incorrect technique.
•Time Efficiency: Achieve professional-quality results in a fraction of the time required for traditional whetstone sharpening—perfect for busy home cooks and professional kitchens.
•Versatility: Quality rolling sharpeners accommodate various knife types and edge angles, from Western chef's knives to Japanese santokus and even serrated blades.
How Rolling Sharpeners Work:
The rolling mechanism typically incorporates:
•Magnetic or mechanical angle guides that position the knife at the optimal sharpening angle
•Abrasive discs or wheels (often diamond or ceramic) that remove material from the blade
•A rolling action that ensures the entire edge receives uniform treatment
•Multiple grit options for progressive sharpening from coarse to fine
Ideal Applications:
Rolling sharpeners excel at:
•Regular maintenance of kitchen knives between professional sharpenings
•Creating consistent edges for home cooks without extensive sharpening experience
•Quickly refreshing edges that have begun to dull but aren't severely damaged
•Maintaining a variety of knife types with different edge geometries
Yui's Kitchen's premium rolling knife sharpener features adjustable angle settings, high-quality abrasive surfaces, and an ergonomic design that makes maintaining razor-sharp edges effortless for cooks of all skill levels.
Getting the Best Results:
To maximize the effectiveness of your rolling sharpener:
•Start with a clean, dry knife
•Begin with the coarsest grit needed and progress to finer grits
•Maintain light, even pressure throughout the rolling motion
•Follow the manufacturer's recommendations for the number of passes
•Test the edge between grits to monitor progress
•Finish with a few passes on a honing rod for the perfect edge
Comparison with Other Methods:
While whetstones offer the ultimate in control and customization for experienced users, rolling sharpeners provide superior results compared to pull-through sharpeners while being much more user-friendly than traditional stones. They're also gentler on blades than electric sharpeners, removing only the necessary amount of material to create a sharp edge.
For home cooks seeking professional-quality results without the steep learning curve of whetstones, a quality rolling sharpener represents an excellent investment in your kitchen toolkit.
Honing Rods: Daily Maintenance
Contrary to popular belief, standard honing rods don't actually sharpen knives—they realign the edge between proper sharpenings. Every kitchen should have one for regular maintenance.
Types of Honing Rods:
•Steel honing rods: Traditional and most common
•Ceramic rods: Slightly more abrasive, providing light sharpening
•Diamond-coated rods: Most aggressive, actually remove some material
A quality honing rod should be used before each cooking session to maintain your edge.
Electric Sharpeners: Convenience with Caveats
Electric sharpeners offer convenience but provide less control and remove more material than necessary. They're acceptable for basic kitchen knives but not recommended for high-end cutlery.
Considerations:
•Best for Western-style knives with standard edge angles
•Not suitable for single-bevel Japanese knives
•Can shorten knife life through aggressive material removal
•Convenient for those unwilling to learn manual techniques
Pull-Through Sharpeners: Emergency Options
These simple devices are better than nothing but far from ideal. They typically feature preset angles and can damage knife geometry over time.
Best uses:
•Emergency touch-ups when nothing else is available
•Very basic kitchen knives where precision isn't critical
•Situations where convenience outweighs performance
Mastering Whetstone Sharpening: A Step-by-Step Guide
Whetstone sharpening delivers the best results and gives you complete control over your knife's edge. Here's how to approach it like a professional:
Preparation
1.Soak your stone (if required—some stones need 10-15 minutes in water, while others just need a splash)
2.Place the stone on a non-slip surface or stone holder
3.Prepare a water source nearby for keeping the stone wet during sharpening
4.Clean your knife thoroughly before beginning
Finding the Right Angle
The most critical aspect of sharpening is maintaining a consistent angle:
•For Western knives: Typically 15-20 degrees per side
•For Japanese knives: Often 10-15 degrees
•For specialized knives: Follow manufacturer recommendations
Angle guides can help beginners maintain consistency. Alternatively, use the "quarter trick"—place a quarter on the stone and rest the blade on it to approximate a 15-degree angle.
The Sharpening Process
1.Start with the right grit based on your knife's condition (typically medium grit for regular maintenance)
2.Position the knife at the correct angle, with the edge facing away from you
3.Apply light pressure with your fingers distributed evenly along the blade
4.Push the knife forward and across the stone in a sweeping motion, as if trying to slice a thin layer off the top of the stone
5.Maintain the angle throughout the entire stroke
6.Count your strokes to ensure even treatment on both sides
7.Check your progress frequently using the paper test
8.Progress to finer grits once you've established a burr (a microscopic wire edge that forms during sharpening)
Dealing with the Burr
The burr is a thin wire of metal that forms along the edge during sharpening. It indicates you've sharpened all the way to the edge.
1.Feel for the burr by gently running your finger perpendicular to the edge (away from the sharp side)
2.Remove the burr by alternating light strokes on each side with decreasing pressure
3.Finish with a stropping motion on your finest stone or dedicated strop
Common Mistakes to Avoid
•Inconsistent angle: Results in a rounded, ineffective edge
•Too much pressure: Removes excessive material and can create an uneven edge
•Insufficient time on each grit: Rushing the progression leads to poor results
•Neglecting the burr: Not creating or properly removing the burr leaves an unfinished edge
Honing: The Daily Ritual for Edge Maintenance
Honing is a simple yet crucial practice that extends the time between sharpenings by realigning the microscopic teeth of your knife's edge.
Proper Honing Technique
1.Hold the honing rod vertically with the tip resting on a stable surface
2.Position the knife at approximately 15-20 degrees against the rod
3.Draw the knife downward while pulling it across the rod, maintaining the angle
4.Alternate sides for even treatment, typically 5-10 strokes per side
5.Use light pressure—honing is about alignment, not material removal
6.Finish with a paper test to confirm improvement
Honing Schedule
•Professional kitchens: Before each shift or major prep task
•Home kitchens: Before each cooking session or at least weekly
•After cutting acidic foods: Acids can affect the edge alignment
Regular honing can reduce the frequency of full sharpenings by maintaining your edge longer.
Electric and Pull-Through Sharpeners: Making the Most of Convenience Options
While whetstones offer superior results, many home cooks prefer the convenience of electric or manual pull-through sharpeners. If you choose these options, here's how to maximize their effectiveness:
Using Electric Sharpeners Effectively
1.Read the manual thoroughly—different models have specific procedures
2.Clean your knife before sharpening
3.Use light pressure and let the machine do the work
4.Follow the recommended progression through the slots
5.Limit sharpening sessions to extend knife life
6.Still use a honing rod between sharpenings
Pull-Through Sharpener Best Practices
1.Choose quality models with multiple stages
2.Place on a stable surface at a comfortable height
3.Maintain consistent pressure through the entire pull
4.Follow the recommended number of pulls per stage
5.Clean the sharpener regularly to remove metal filings
Remember that these convenience options remove more material than necessary and provide less control over the final edge. For everyday kitchen knives, they're acceptable, but consider professional sharpening or learning whetstone techniques for your premium cutlery.
Professional Sharpening Services: When to Seek Expert Help
Even if you maintain your knives at home, there are times when professional sharpening services are worth considering:
When to Go Professional
•Significant damage: Chips, breaks, or severely rolled edges
•Special knives: Single-bevel Japanese knives or other specialized cutlery
•Reprofiling needs: Changing the edge angle or geometry
•Lack of confidence: If you're uncomfortable sharpening valuable knives
Finding a Quality Knife Sharpening Service
Look for:
•Sharpeners who work by hand rather than using aggressive belt systems
•Experience with your specific type of knife
•Recommendations from professional chefs or knife enthusiasts
•Clear communication about their process and pricing
Knife Care: Preventing Dulling Between Sharpenings
Proper knife care significantly extends the life of your edge and reduces the frequency of sharpening:
Cutting Surface Matters
•Always use wood, plastic, or rubber cutting boards
•Never cut on glass, stone, ceramic, or metal surfaces
•Rotate cutting board usage to prevent uneven wear
Storage Solutions
•Magnetic knife strips: Excellent for air circulation and visibility
•Knife blocks: Convenient but can dull edges if slots are too tight
•Edge guards: Perfect for drawer storage or travel
•Never store unprotected knives loose in drawers
Washing and Drying
•Hand wash only—dishwashers damage both edges and handles
•Wash immediately after use, especially after cutting acidic foods
•Dry thoroughly before storing to prevent corrosion
•Wipe in the direction away from the edge to avoid cutting yourself
Cutting Technique
•Use a forward or backward slicing motion rather than chopping
•Let the knife do the work—excessive force dulls the edge faster
•Use the appropriate knife for each task
•Avoid twisting or torquing the blade while cutting
Building Your Sharpening Kit: Essential Tools for Every Kitchen
For home cooks serious about maintaining their knives, here's a recommended progression of sharpening tools:
Starter Kit
•Quality honing rod: Daily maintenance is your first priority
•Rolling knife sharpener: For consistent, user-friendly edge maintenance
•Sharpening service contact: For periodic professional maintenance
Intermediate Kit
•Combination whetstone (1000/6000 grit): Covers most sharpening needs
•Angle guide: Helps maintain consistent angles while learning
•Stone holder: Provides stability during sharpening
•Quality honing rod: Still essential for daily maintenance
•Rolling knife sharpener: For quick touch-ups between whetstone sessions
Advanced Kit
•Multiple whetstones (400, 1000, 3000, 8000 grits): Complete progression
•Flattening stone: Maintains the stones themselves
•Leather strop and compound: For final edge refinement
•Loupe or magnifier: For edge inspection
•Premium rolling sharpener: For maintenance between full whetstone sessions
Yui's Kitchen's sharpening collection offers options at every level, from beginner-friendly starter kits to professional-grade systems.
Specialized Knife Sharpening Considerations
Different knife types and uses require specific approaches to sharpening:
Japanese Knives
•Single-bevel knives (yanagiba, usuba, deba) require specialized techniques
•Harder steels (often 60+ HRC) benefit from higher grit finishing
•Thinner edges need more careful pressure management
•Traditional Japanese waterstones are often preferred for authentic results
Serrated Knives
•Require specialized tools like tapered diamond rods or ceramic honing rods
•Focus on the beveled side of each serration
•Maintain the original serration shape rather than trying to reshape
•Consider professional sharpening for severely dulled serrated knives
Ceramic Knives
•Cannot be sharpened with standard methods
•Require diamond abrasives due to their extreme hardness
•Best sent to professionals or the manufacturer for resharpening
•Prevention is key—these knives chip rather than dull
Conclusion: The Lifelong Journey of Knife Maintenance
Knife sharpening is both a practical skill and an art form. While it may seem daunting at first, the rewards of cooking with truly sharp knives make the learning process worthwhile. Whether you choose the precision of whetstones, the user-friendly consistency of a rolling sharpener, or the convenience of other methods, regular maintenance will transform your cooking experience.
Remember that knife sharpening is a journey rather than a destination. Each time you sharpen, you'll gain more skill and understanding of your tools. Start with the method that best matches your comfort level and gradually explore more advanced techniques as your confidence grows.
At Yui's Kitchen, we believe that quality tools deserve quality care. Our chef-approved knife collection is designed to provide years of exceptional performance with proper maintenance. Explore our knife maintenance collection to find the perfect sharpening solution for your needs, and discover the joy of cooking with truly sharp knives.


