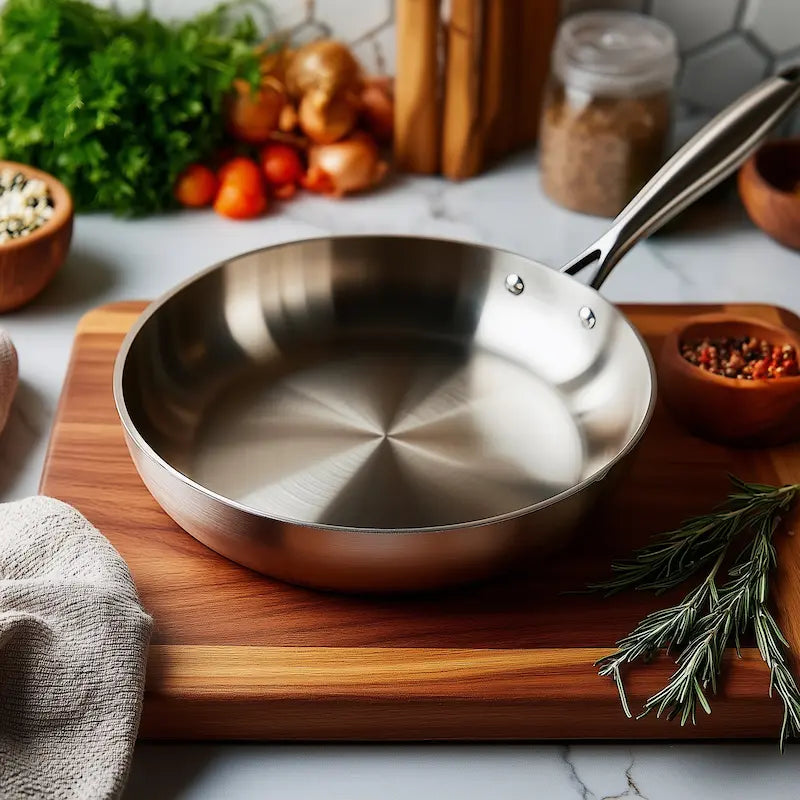
Mastering the Stainless Steel Pan: Your Guide to Naturally Non-Stick Cooking
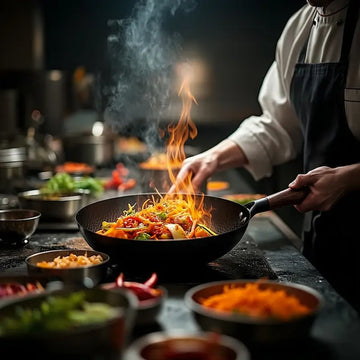
Stainless steel pans are a staple in kitchens worldwide, beloved for their durability, even heating, and ability to achieve a beautiful sear on meats and vegetables. However, they often get a bad rap for food sticking, leading many home cooks to shy away from them in favour of non-stick coated alternatives.
But what if we told you that your stainless steel pan can be just as non-stick as any other, without the need for special coatings or chemicals? The secret lies not in the pan itself but in understanding a few fundamental cooking techniques.
Forget everything you thought you knew about sticky stainless steel. With the right approach to heat, oil, and timing, you can unlock the true potential of your stainless steel cookware, transforming it into a reliable, naturally non-stick surface for everything from delicate eggs to perfectly seared fish.
This guide will demystify the art of cooking with stainless steel, empowering you to achieve professional-level results and enjoy the many benefits of this versatile kitchen essential.
The Myth of the "Sticky" Stainless Steel Pan
The most common complaint about stainless steel pans is that food sticks to them. This often leads to frustration and a quick return to traditional non-stick pans. However, this perceived stickiness isn't an inherent flaw in stainless steel; rather, it's a result of improper cooking techniques. Unlike coated non-stick pans, which rely on a synthetic layer to prevent food from adhering, stainless steel requires a different approach that leverages its natural properties.
Many cooks make the mistake of adding oil to a cold pan and then heating it or adding food before the pan has reached the correct temperature. This can cause food to bond with the microscopic pores on the surface of the stainless steel, leading to sticking. The key to success with stainless steel lies in understanding and controlling heat and creating a temporary non-stick barrier with oil.
Once you master these techniques, you'll find that your stainless steel pan can perform just as well, if not better, than its coated counterparts, offering superior searing capabilities and durability without the worry of scratched coatings or chemical leaching.
The Magic of Preheating: Understanding the Leidenfrost Effect
The cornerstone of non-stick stainless steel cooking is proper preheating. This isn't just about making the pan hot; it's about achieving a specific temperature that triggers a phenomenon known as the Leidenfrost effect.
When your pan is adequately preheated, a small amount of water dropped onto its surface will bead up and dance around, rather than immediately evaporating or sizzling away. This indicates that the pan has reached a temperature where a thin layer of steam forms between the water droplet and the hot metal, creating a temporary, frictionless cushion.
To achieve this:
- Place your empty stainless steel pan on the stove over medium to medium-high heat. The exact heat level will depend on your stove and the pan's thickness. Avoid high heat, as this can lead to scorching and uneven heating.
- Allow the pan to heat for 2-3 minutes. Resist the urge to rush this step. Patience is key.
- Perform the water test. Flick a few drops of water into the pan. If the water sizzles and evaporates quickly, the pan isn't hot enough. If it forms small, cohesive beads that glide across the surface like mercury, your pan is perfectly preheated and ready for oil.
This Leidenfrost effect creates a natural barrier that prevents food from directly contacting the pan's surface, significantly reducing sticking. It's a simple yet powerful principle that transforms your stainless steel pan into a surprisingly effective non-stick cooking tool.
The Art of Oil and Temperature Control
Once your stainless steel pan has passed the Leidenfrost test, it's time to add your cooking fat. The type and amount of oil, along with continued temperature management, are crucial for maintaining that non-stick surface.
- Add your oil immediately after the water test. A general rule of thumb is to add enough oil to lightly coat the entire bottom surface of the pan. For most cooking, a tablespoon or two will suffice. Swirl the oil around to ensure even coverage.
- Wait for the oil to shimmer. As the oil heats, it will begin to shimmer and thin out. This indicates it's hot enough to add your food. If the oil starts to smoke, it's too hot, and you should remove the pan from the heat, let it cool slightly, discard the oil, and start the preheating process again. Overheated oil can break down and become sticky.
- Maintain consistent heat. Once food is added, the pan's temperature will drop. Adjust your heat as needed to maintain a consistent cooking temperature. Avoid constantly fiddling with the heat, as this can lead to uneven cooking and sticking. For most applications, medium heat is ideal.
- Don't overcrowd the pan. Adding too much food at once will drastically lower the pan's temperature, causing food to steam rather than sear, and increasing the likelihood of sticking. Cook in batches if necessary.
Let food release naturally. When searing meats or vegetables, resist the urge to move the food too soon. Allow it to cook undisturbed for a few minutes. As a crust forms, the food will naturally release from the pan. If it's sticking, it likely needs more time to develop that sear. Gently try to move it with a spatula; if it resists, give it another minute or two.
Specific Tips for Common Foods
While the general principles of preheating and oil management apply to all foods, some items benefit from specific considerations to ensure a non-stick experience in your stainless steel pan.
Eggs
Cooking eggs in stainless steel can be a true test of your non-stick technique. For perfect, non-stick eggs:
- Lower the heat slightly after adding oil. Eggs cook best at a slightly lower temperature than searing meats. Once your pan is properly preheated and you've added the oil, reduce the heat to low or medium-low before adding the eggs.
- Use enough fat. Don't be shy with butter or oil. A generous amount will create a better barrier. Swirl it around to coat the entire cooking surface.
- Don't disturb too soon. Allow the egg whites to set and the bottom to cook and firm up before attempting to move or flip. Once the egg is ready, it should slide easily.
Meats (Steaks, Chicken, Fish)
Stainless steel excels at searing, creating that desirable crispy crust. The key to non-stick searing is patience and proper heat.
- Ensure meat is dry. Pat your meat thoroughly dry with paper towels before placing it in the hot pan. Moisture creates steam, which prevents searing and can lead to sticking.
- Don't overcrowd. Cook in batches if necessary to maintain the pan's temperature and allow for proper searing.
- Let it sear. Place the meat in the hot, oiled pan and resist the urge to move it. As the crust forms, the meat will naturally release from the pan. If you try to move it too soon and it sticks, it simply means it's not ready yet. Give it another minute or two, and it will release when it's properly seared.
- Fish is delicate. For delicate fish fillets, ensure your pan is perfectly preheated and well-oiled. A slightly lower heat than for steak might be beneficial to prevent the fish from cooking too quickly on the outside before releasing.
Cleaning and Maintenance for Lasting Non-Stick Performance
Proper cleaning and maintenance are just as important as cooking technique when it comes to keeping your stainless steel pan performing like a non-stick champion. While stainless steel is incredibly durable, improper cleaning can lead to residue buildup that causes sticking.
- Deglaze immediately after cooking. If you have stuck-on bits after cooking, deglaze the pan while it's still hot (but off the heat) with a splash of water, wine, or broth. Use a wooden spoon or spatula to scrape up the fond (the browned bits), which not only cleans the pan but also adds flavour to your dish.
- Wash with hot, soapy water. After deglazing or once the pan has cooled, wash it with hot, soapy water and a non-abrasive sponge or brush. Avoid using harsh scouring pads or steel wool, as these can scratch the surface and make it more prone to sticking in the future.
- Remove stubborn stuck-on food. For more stubborn stuck-on food, fill the pan with a little water and a few drops of dish soap, bring it to a simmer on the stove for 5-10 minutes, then let it cool. The food should loosen and be easy to remove.
- Baking soda paste for discolouration. If your pan develops discolouration or stubborn stains, a paste made from baking soda and a little water can work wonders. Apply the paste, let it sit for a few minutes, then scrub gently and rinse.
- Dry thoroughly. Always dry your stainless steel pan thoroughly immediately after washing to prevent water spots and potential mineral buildup, which can affect performance over time.
By following these cleaning and maintenance tips, you'll ensure your stainless steel pan remains in prime condition, ready to deliver non-stick results for years to come.
Conclusion: Embrace the Power of Stainless Steel
Stainless steel pans are not inherently sticky; they are simply misunderstood. By mastering a few key techniques—proper preheating to achieve the Leidenfrost effect, precise oil addition, and diligent temperature control—you can transform your stainless steel cookware into a remarkably effective non-stick surface. This approach not only eliminates the need for synthetic coatings but also allows you to fully leverage the superior searing capabilities and durability that stainless steel offers.
Embracing these methods will not only enhance your cooking results, from perfectly seared meats to effortlessly sliding eggs, but also extend the life of your pans. With consistent practice and proper care, your stainless steel cookware will become a trusted ally in the kitchen, proving that sometimes, the best non-stick pan is the one you already own. So, go ahead, give your stainless steel pans the chance to shine, and unlock a world of naturally non-stick cooking.